Cut timber
Acoustic Room Treatment - Building Panels
Purchasing panels
After searching for suitable panels I finally found a company that would sell me what I wanted in small quantities. The company is called CH Insulation, and is in Witney, Oxfordshire.
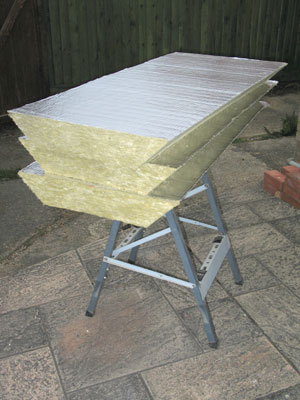
For the higher frequency absorption I bought ten panels of RockSilk LR45 - a 45kg/m3 density panel, each of which were 1200x600mm (roughly 4x2'). Four of the panels (for the ceiling absorbers) were 50mm thick (approx 2"), and the remaining six (for the side wall absorbers) were 25mm thick (approx 1"). These panels cost less than 30GBP. At the time of purchase this was around 50USD.
For the bass traps, a thicker, higher density panel was used. These panels, RockSilk LR100, were the same surface area, but 100kg/m3, and 100mm thick (approx 4").
These panels were given a foil facing, which acts as a damped membrane, and improves absorption at low frequencies, accepting that this reduces the absorption at higher frequencies. I bought ten panels, costing under 160GBP (approx 290USD).
I couldn't get much information about the absorption of the panels, but what I had indicated that they were similar to competing products. For data on similar panels, take a look at these Owens-Corning and Knauf products.
Making the frames
The lower density panels wouldn't hold their own weight, so would obviously need some way of mounting. Taking inspiration from Thomas Andry's panels, I decided to make some frames, onto which the panels would sit.
The frames would provide a 25mm (1") air gap between the back of the panel and the wall/ceiling. From information given to me by some of the people at the Audioholics forum I understand that a sensible air gap, i.e. 1", can effectively make a 1" panel perform like a 2" panel, and a 2" panel perform like a 3" product.
The plan was then to put sides on the frames to protect the panels, and stretch fabric around the whole unit.
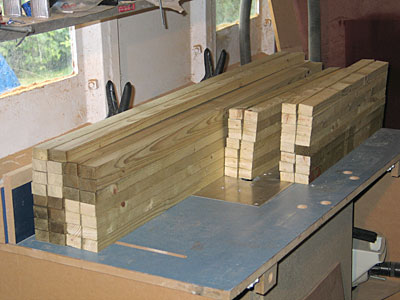
I bought some rough sawn timber, mainly because it was the size I wanted (approx 25x35mm) and was cheap (and wouldn't be seen, so rough sawn was OK).
I cut the timber in lengths of 600 and 1200mm, as shown below.
Cut timber
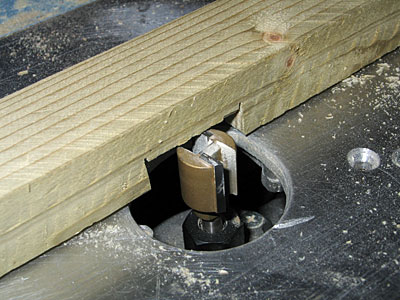
Into each length, I cut lap joints to enable the pieces to be fit together.


Cutting the joints on a bandsaw
The end lap joints were cut with a bandsaw. The picture above left shows the mitre gauge being used to keep the piece at ninety degrees to the blade, and the clamps are holding some blocks of MDF onto the table to ensure the cut wasn't too deep. The lap joints were then sliced out (shown in the top right image).
The centre lap joints were cut by hand, and chiselled out. Finally, they were cleaned up on the router table.

Cutting and cleaning the centre joints
Each frame consists of six parts (three 600mm, three 1200mm) and were glued together, as shown below.
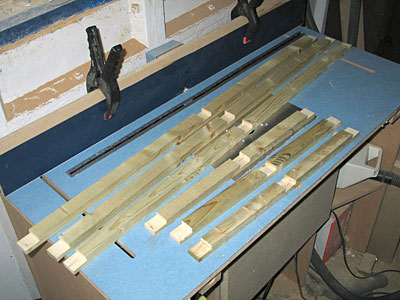

Finished pieces, and gluing
I then cut strips of 6mm (1/4") MDF to protect the sides of the panels. Each strip was just slightly deeper than the depth of the frame + panel (i.e. for the 50mm panels, just over 75mm).
The edges were rounded over on the router table to provide a smoother finish, and were glued/screwed onto the edges of the frames. The finished results are shown below.
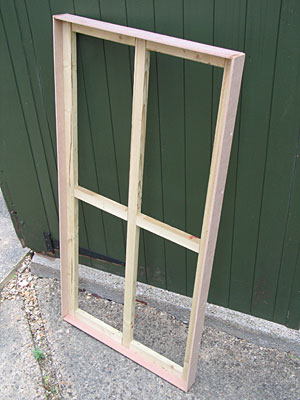
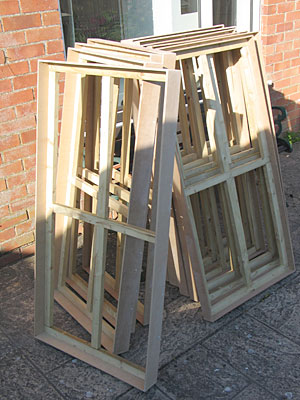
Finished frames
I began to realise that I wasn't going to be able to mount the frames on the walls as I'd intended (hanging them like pictures) as there we're obstructions on one wall (a radiator and hatch to the kitchen).
So, I bought some 15mm diameter copper water pipe, and drilled two holes through the bottom pieces of the frames, and two halfway into the centre pieces.
I cut out some blocks of pine, rounded the edges with the router and drilled 15mm holes halfway through. This resulted in some feet - as shown below.
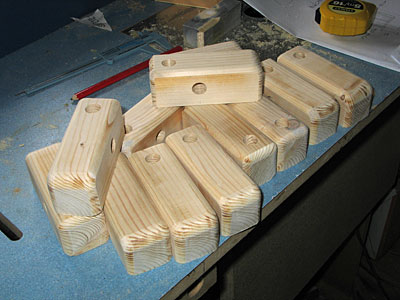
Feet!
The lengths of pipe were slotted into the feet, and painted. I also painted the side panels of the frames.
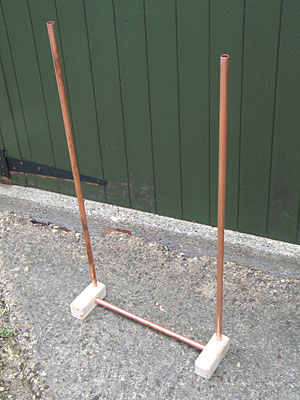
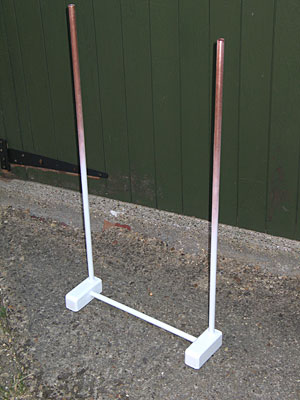
Frame stands
Bass Traps
I then set about cutting the thicker panels for the bass traps. I planned to have these panels sit in the room corners, as they are strong enough to hold their own weight. Unfortunately, windowsills, doors, skirting boards and my projector screen all made life difficult.
I cut the edges of the panels on the bandsaw at forty-five degrees, so they'd fit right into the room corners. Some pics follow.

A smaller panel cut to fit, and some larger panels

A smaller panel fit into a room corner
Partly because I'd bought too much, and partly to weight the bass traps into the room corners, I made the panels solid all the way into the corners - by gluing them together with contact adhesive.
Whilst this helped them to stay put, I did check the room response with both hollow and solid traps, and the difference was minimal.
Finishing
All of the panels were then wrapped in cotton wadding (batting) with the help of a little spray contact adhesive. This seals the fibres in, and makes them a little safer.
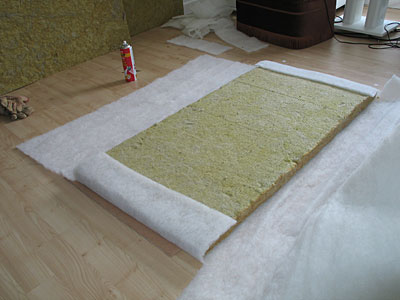
Wrapping a panel
The thinner panels were then dropped into the frames, and screwed in. I used large (25mm diameter) 'penny' washers around the screws to hold the panels.
Be careful when doing this - I snagged the wadding on a couple of occasions, which causes it to wrap around the screw, and it will then tear the panel.
Finally, I wrapped the frames in white linen. I placed linen on the floor and put a panel face down on top. I then used a staple gun to attach the fabric to the back, ensuring I kept the material tightly stretched (like a drumskin).


Wrapping panels in linen
I cut slits in the fabric at the bottom of each panel, to open up the holes for the stands, and slid the panels onto the stands.
These two images show the results of a fabric wrapped panel - and the huge improvement in appearance of using the linen.
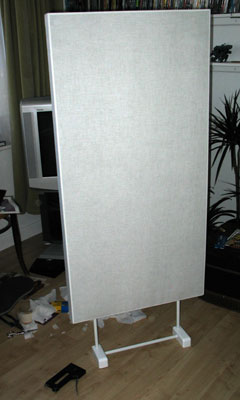

Wrapped (and unwrapped) panels
To attach the thicker panels to the ceiling I bought some ninety degree angle plates, and bent one side to form a 'u' shaped bracket.
Using some plugs designed for cavities I attached the brackets to the ceiling. The centre beam on the back of the frames hooked over the brackets.

Ceiling brackets
Results
The ceiling mounts aren't perfect, but (so far) all the panels are still attached!
I'm having to wait for more stocks of linen, so the bass traps are currently only wrapped in wadding.
This image was stitched together from a set of photos. You can see the three panels on each side wall, and the four panels on the ceiling.
The are bass traps in the wall-wall corners behind the speakers (and more behind the camera position), and a small trap in the wall-floor corner behind the centre speaker.

The room
Fin!